
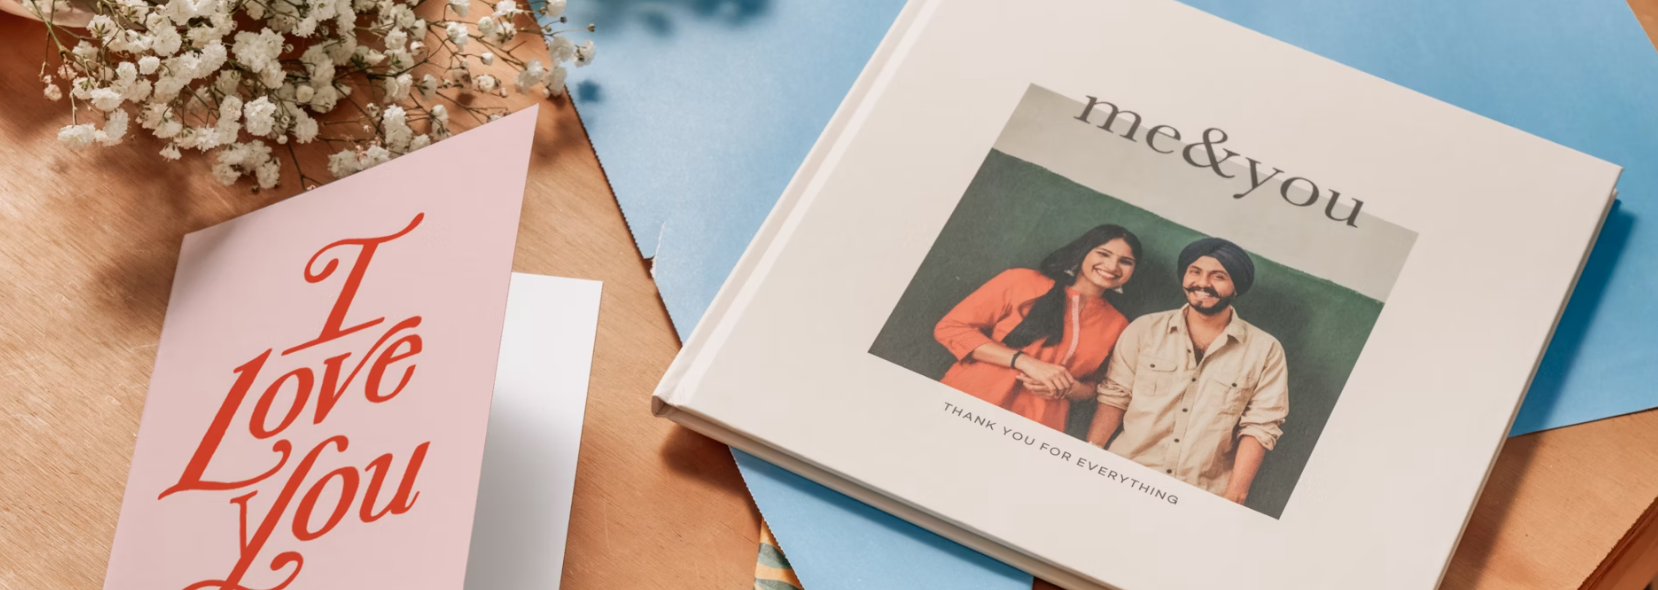
Choosing your book
Once you've chosen your cover design from our wide range, you must then select the size and color on the product page. Some of our photo books also have an option for foiling. You can also filter by things like occasion, foiling, size and product initially to help you make your choice!
It is possible in many cases to change your color, size or cover selection after you begin editing, but it isn't possible to transfer the images over from a fabric or softcover photo book to another type of book without starting from scratch.
Uploading photos
Within the editor, you'll be able to upload photo files from your computer, your mobile device, or from your Papier Photo Library if you've uploaded before.
To find out what kind of photo you should upload click here.
Once you upload your photos to your project, you'll be able to use the 'Autofill' feature if you'd like the system to place the images on randomised pages for you, or you can add manually.
Your photo library will be appear on the left hand side of your screen and will follow you as you scroll down to additional pages.
Selecting layouts
We offer a variety of page layouts to select from, including single photo pages to multiple images on one page. You can also select from layouts that allow for text and captions. You'll see all of our available page layout options in the left-hand side of your screen in the 'Layouts' category.
Saving your work
To save your photo book, you will find the save button at the bottom of your screen next to 'arrange'. We would recommend saving often as you go, just to avoid the loss of any work.
Editing your photos
To edit a single photo, you can click on the picture once and you'll see the option to 'Edit' or 'Remove'. Alternatively, you can double-click on the photo and it will open up the available edit options, including rotation, zoom, filters, as well as the option to download the image. Once you're happy with your selection, click 'Save changes' which will bring you back to the main page.
Arrange your photos
You can rearrange photos by clicking the 'Arrange' button at the bottom of your screen. Once selected, click on a photo and drag it into a new position.
Adding a text box (caption)
Some of our page layouts allow for text within text boxes (also known as captions). If captions are available for a layout, you'll see the option to select 'Hide text boxes' or 'Show textboxes'. If you opt to select 'Show text boxes', you'll want to be sure to edit each line of text accordingly so it prints your proper personalisation. if you don't adjust this text or delete it, it will print with the default, sample text.
If you chose a cover with text, don't forget to personalise this too!
Adding or removing a page
To add more pages, you can click the 'add pages' button in between your page spreads, or you can click the 'add pages' button at the bottom of your screen.
To remove pages, you'll find a 'delete spread' button under each spread. You can only remove pages in spreads, not single pages.
Please note that there is a minimum page quantity, it is not possible to delete pages if you have not added any to begin with.
To remove a single photo from your creation, you can click on the photo which will show you the option to 'Remove'. You can then swap out with a different image!
You can delete images from your photo library by clicking 'Select' and clicking all of the images that you'd like to remove from your library.
Further edits
We've recently added the ability to change the background color on certain pages, as well as add stickers to some photo books! You'll find both of these options (if available for your design) on the left-hand side of your screen.
Sharing your design
When you've finalised your design, you have the option to share with others if you're interested! Click the 'share' button in the top right-hand corner of your screen where you can select from two options - view only or view, purchase or edit a copy.
Once you've finished editing, you can either 'save' this design to come back to later, or 'add to cart' to complete your order!
See more photo book information here
Comments
0 comments
Article is closed for comments.